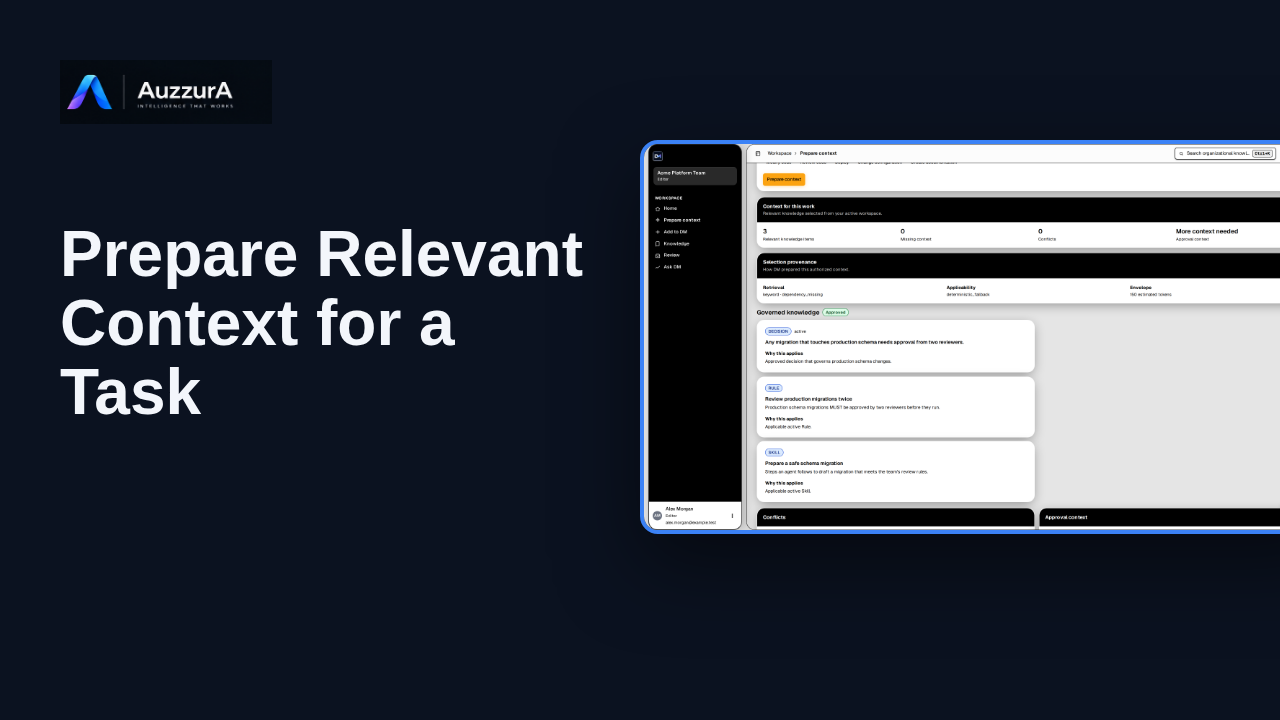
Prepare relevant context for a task
Create a bounded context package from approved knowledge. Before your AI agent changes code, give it the decisions that apply.
For: Coding-agent user
How-to
Create a workspace agent, then prepare the Claude Code connection it will use.
Read the steps OR watch the video. Both teach the same outcome, and neither is needed for the other.Jump to the video
What it means: Start on DM Home, in your workspace. In the sidebar, open Settings.
What it means: Settings holds the shared setup for your workspace. Open Agents.
What it means: This is where DM tracks agents such as Claude Code. None exist yet, so select Create agent.
What it means: Enter Claude Code as the display name, with an optional description. DM turns the name into a stable agent key. It identifies the agent and is not a secret.
What it means: Review the access profile. Standard is the default. A Standard agent reads what it may see and proposes changes for review. It cannot approve anything. Restricted gives less access, and Pilot Full Access gives more.
What it means: Select Create. DM saves the agent and opens its details page. The Connected badge only means DM is prepared. Claude Code is not set up yet.
What it means: MCP Connections lists what this agent can reach. Anything your plan excludes shows as unavailable.
What it means: The recommended method is Connect with authentication. It needs no API key. Copy the OAuth configuration. It holds your DM MCP URL and no secret. Add that URL to Claude Code. On first connection, your browser opens so you can sign in and review access.
What it means: If you cannot sign in through a browser, use the Claude Code tab for manual credentials. Its configuration holds placeholders only. DM shows a new secret once, so keep it private.
What it means: Test connection checks the setup from DM's side. In this demo the result is simulated. In your workspace, ready means DM is prepared, not that Claude Code has connected.
Next, add DM in Claude Code, complete the sign-in, then check this agent's runs in DM.
Statuses such as the Connected badge and the Test connection results were simulated in the recording. Adding DM in Claude Code, the browser sign-in and a real tool call were not verified.
Demo environment · synthetic workspace · statuses are simulated. Demo walkthrough of the DM-side setup · Settings → Agents → MCP Connections
This guide shows the DM-side setup only. It does not show Claude Code being connected or authenticated.
A banner reading "Demo environment · synthetic workspace · statuses are simulated" stays on screen for the whole video.
On screen: The AuzzurA DM logo, the title "How to Set Up a Claude Code Connection to AuzzurA DM" and the subtitle "Demo walkthrough of the DM-side setup · Settings → Agents → MCP Connections".
Narrator: This demo shows how to set up a Claude Code connection to AuzzurA DM, using a workspace with simulated data.
On screen: Start on DM Home (/). Click "Settings". The next view is "Workspace settings" (/settings/workspace). A highlight marks "Settings". Afterwards: A highlight marks "Agents".
Narrator: Start on DM Home, in your workspace.
Narrator: In the sidebar, open Settings.
On screen: Click "Agents". The next view is "Agents" (/control-panel/agents). A highlight marks "Agents".
Narrator: Settings holds the shared setup for your workspace.
Narrator: Open Agents.
On screen: Click "Create agent". The next view is "Create workspace agent" (/control-panel/agents). A highlight marks "Create agent". Afterwards: A highlight marks "Display name".
Narrator: This is where DM tracks agents such as Claude Code.
Narrator: None exist yet, so select Create agent.
On screen: Type "Claude Code" into the "Display name" field. Type "Coding agent that searches approved decisions before changing code." into the "Description (optional)" field. A highlight marks "Name the agent". Afterwards: A highlight marks "Claude Code".
Narrator: Enter Claude Code as the display name, with an optional description.
Narrator: DM turns the name into a stable agent key. It identifies the agent and is not a secret.
On screen: A highlight labelled "Default access profile" marks "Standard Read access to authorized shared knowledge; may submit propo…".
Narrator: Review the access profile. Standard is the default.
Narrator: A Standard agent reads what it may see and proposes changes for review. It cannot approve anything.
Narrator: Restricted gives less access, and Pilot Full Access gives more.
On screen: Click "Create". The next view is "Claude Code" (/control-panel/agents/agent-claude-code-001). A highlight marks "Create". Afterwards: A highlight labelled "Agent details" marks "Connected Workspace Agent Claude Code Coding agent that searches appr…".
Narrator: Select Create. DM saves the agent and opens its details page.
Narrator: The Connected badge only means DM is prepared. Claude Code is not set up yet.
On screen: A highlight labelled "Connections for this agent" marks "MCP connections for this Agent This setup uses one AuzzurA Agent inst…".
Narrator: MCP Connections lists what this agent can reach. Anything your plan excludes shows as unavailable.
On screen: Click "Copy OAuth configuration". The next view is "Claude Code" (/control-panel/agents/agent-claude-code-001). A highlight labelled "Recommended - no API key" marks "Connect with authentication Connected Add the DM MCP URL to your Agen…". Afterwards: A highlight marks "Copied".
Narrator: The recommended method is Connect with authentication. It needs no API key.
Narrator: Copy the OAuth configuration. It holds your DM MCP URL and no secret.
Narrator: Add that URL to Claude Code. On first connection, your browser opens so you can sign in and review access.
On screen: Click "Claude Code". The next view is "Claude Code" (/control-panel/agents/agent-claude-code-001). A highlight labelled "Fallback - manual credentials" marks "Claude Code". Afterwards: A highlight labelled "Placeholders only" marks "{ "mcpServers": { "decision-memory": { "url": "https://dm.example.tes…".
Narrator: If you cannot sign in through a browser, use the Claude Code tab for manual credentials.
Narrator: Its configuration holds placeholders only. DM shows a new secret once, so keep it private.
On screen: Click "Test connection". The next view is "Claude Code" (/control-panel/agents/agent-claude-code-001). A highlight marks "Test connection". Afterwards: A highlight labelled "Simulated results" marks "initialize ready tools/list ready installation active grants ready".
Narrator: Test connection checks the setup from DM's side. In this demo the result is simulated.
Narrator: In your workspace, ready means DM is prepared, not that Claude Code has connected.
On screen: The AuzzurA DM logo, the heading "Next: connect from Claude Code" and the line "Add the DM MCP URL, sign in, and review access in your browser."
Narrator: Next, add DM in Claude Code, complete the sign-in, then check this agent's runs in DM.
Last verified against the product on .
Create a bounded context package from approved knowledge. Before your AI agent changes code, give it the decisions that apply.
For: Coding-agent user
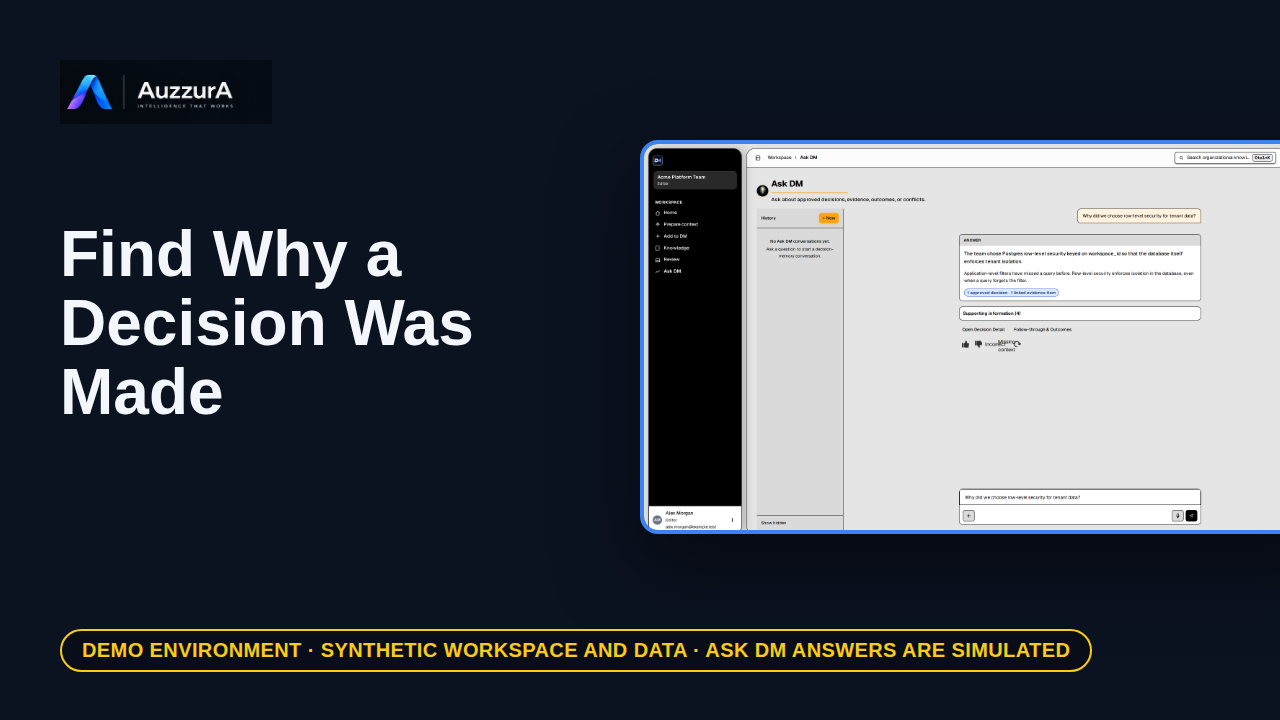
Retrieve rationale, evidence and change history without chasing old messages. You found the implementation. But why was that choice made?
For: New engineer or tech lead
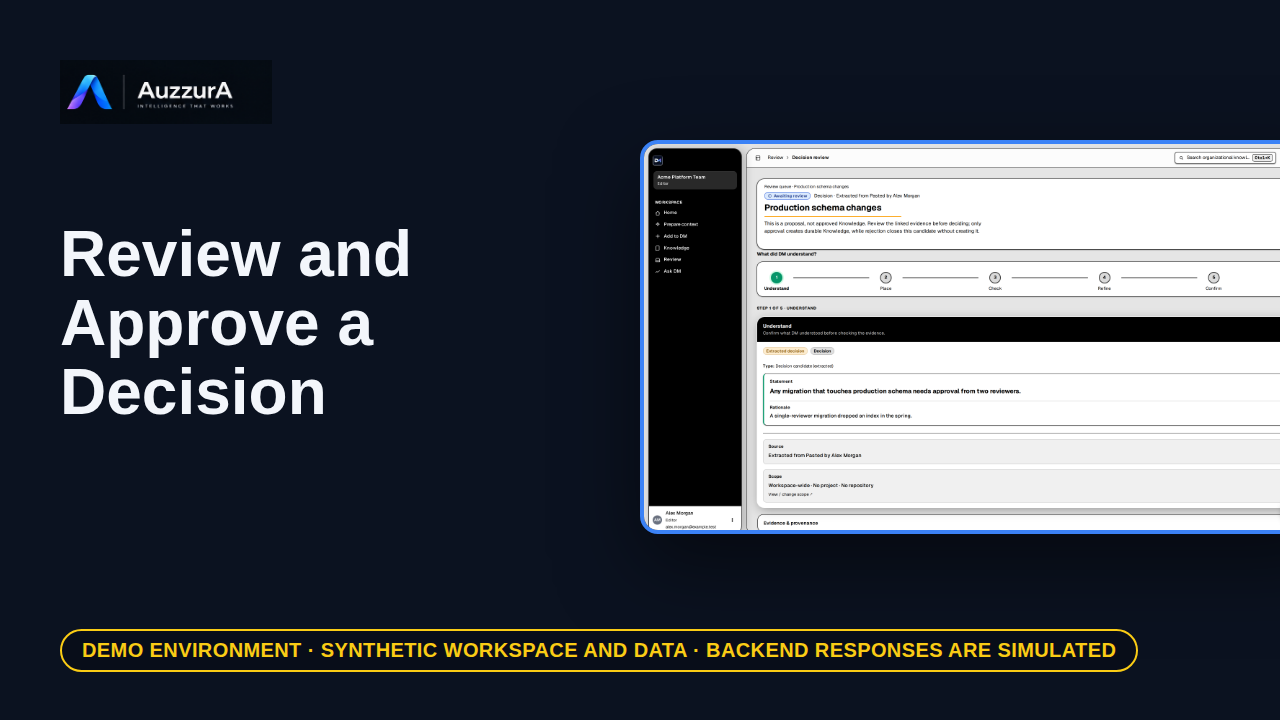
Demonstrate why AI extraction is not automatically team policy. DM proposes what it found. Your team decides what becomes trusted.
For: Reviewer / workspace decision owner
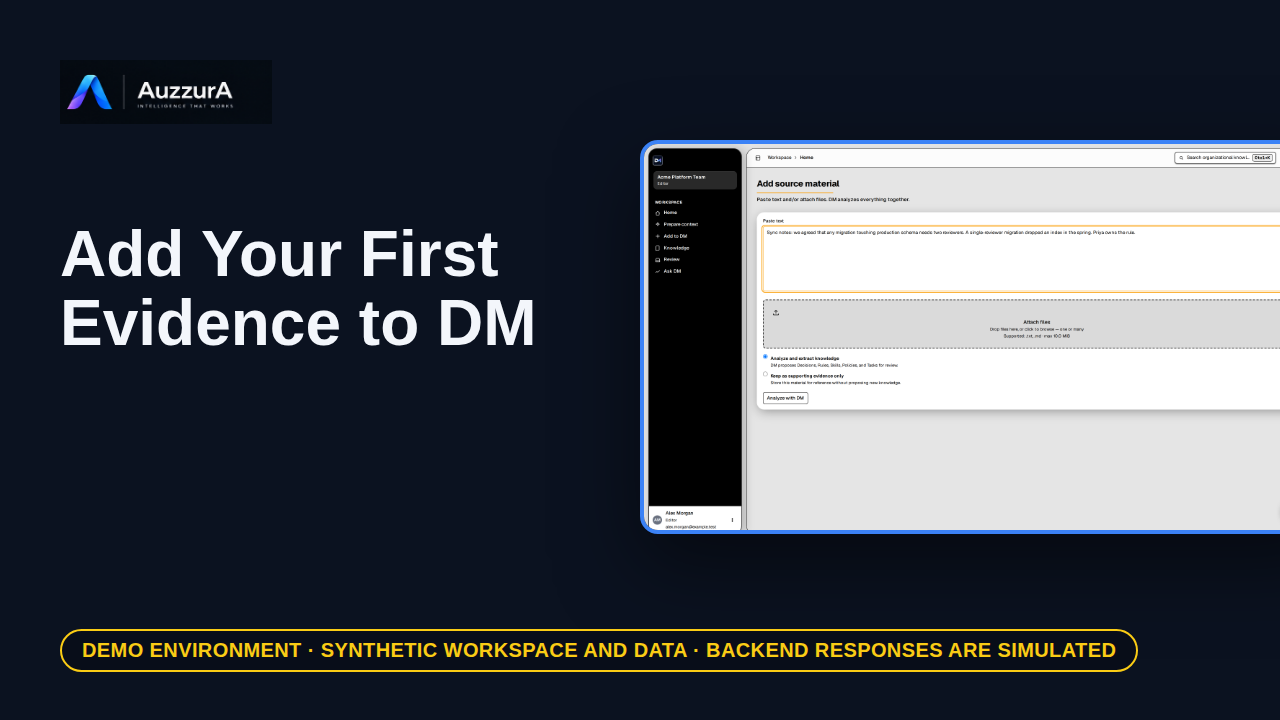
Start from one relevant source rather than recording everything. A team decision often starts in a document, a ticket, or a meeting note.
For: Workspace member