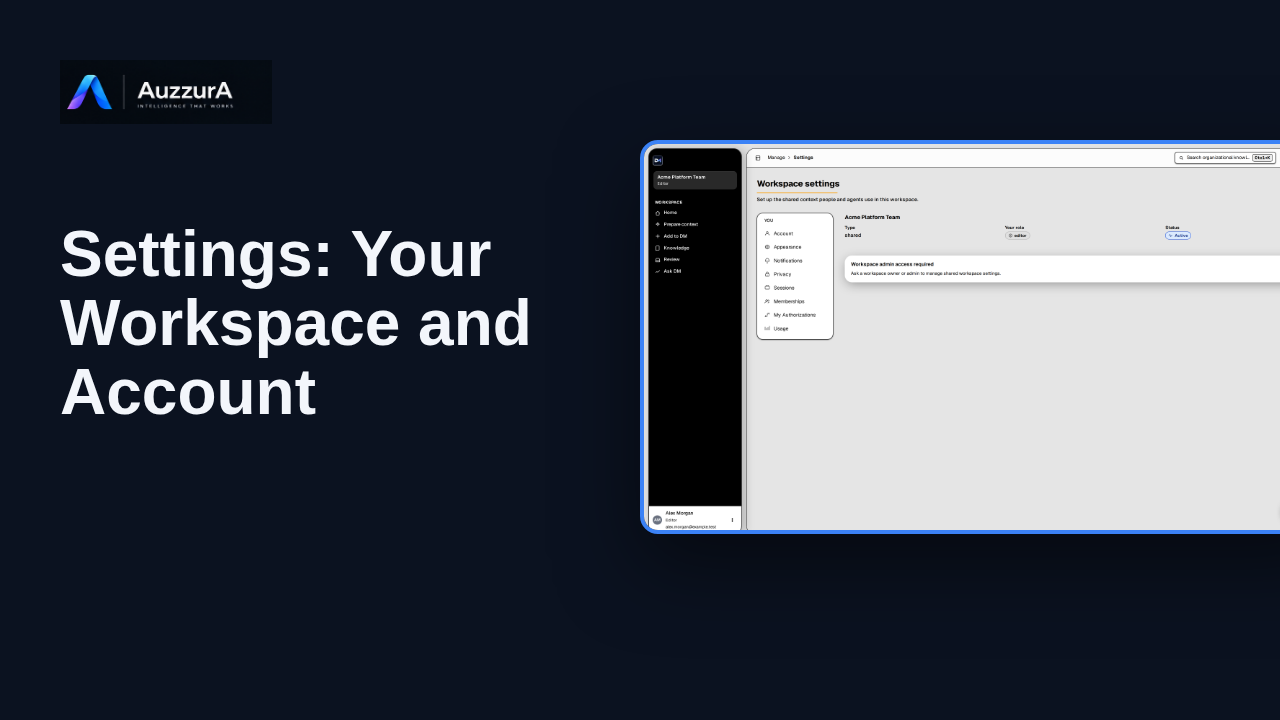
Settings: your workspace and account
Explore workspace and account settings available to your role in DM.
For: Signed-in member
Product tour
Learn where workspace admins manage members, agents, sources and governance controls.
Read the steps OR watch the video. Both teach the same outcome, and neither is needed for the other.Jump to the video
What it means: Workspace administration starts in Settings. As an owner or an admin, you see Settings under Manage in the sidebar. Select Settings.
What it means: At the bottom of this page, Administration leads to the Control Panel. Select Advanced workspace administration.
What it means: This is the Control Panel hub for your workspace. Attention required lists what needs an admin, such as an invitation waiting to be accepted. Workspace health shows the status of your sources, approval policy, plan and audit log.
What it means: In the navigation, Data and audit holds export, retention and audit tools, and Usage shows your workspace plan. Some governance areas are marked as not yet available, and this video covers only what is live today.
What it means: Now, who works in this workspace. Select People.
What it means: People covers the members of the workspace, with their roles, and external participants who don't have accounts. Select Members.
What it means: Members lists everyone in the workspace with their role. Pending invitations wait here until they are accepted.
What it means: Next, the workspaces you belong to. Go back to the Overview, then select Manage workspaces.
What it means: Select Manage workspaces.
What it means: Workspaces lists the workspaces you belong to, and lets you create a new one.
What it means: For agents and sources, go back to Settings. Select Settings.
What it means: Select Agents.
What it means: Agents are the AI tools connected to this workspace, with their access and status. None have been created yet, so the list is empty. Create agent starts a new one.
What it means: Back in Settings, select Sources.
What it means: Select Sources.
What it means: Sources is where the inputs DM can use are managed. DM reads only the items you choose, unless a broader scope is explicitly enabled. Which sources you can connect depends on what your deployment supports. Next, let's create your first workspace agent.
The workspace, the team, the pending invitation and the empty agent list are invented for this tour. Only the admin persona is shown: what owners, admins and other roles see in a real workspace was not verified.
No administrative action is taken: nothing is created, invited, renamed or changed. Data and audit, Usage, Projects and the areas the product marks as not yet available are named but not opened, and no runtime action gateway is shown or claimed.
Demo environment · synthetic workspace and data · backend responses are simulated. Where owners and admins find people, agents, sources and governance
This guide tours the real DM workspace administration with a synthetic workspace, a synthetic admin account and simulated backend responses. Which areas you see depends on your role and on what your workspace and deployment have enabled.
Disclosure (kept in this transcript and the video description, not drawn on the frames): Demo environment · synthetic workspace and data · backend responses are simulated.
On screen: Start on DM Home (/). Click "Settings". The next view is "Workspace settings" (/settings/workspace). A highlight marks "Settings".
Narrator: Workspace administration starts in Settings.
Narrator: As an owner or an admin, you see Settings under Manage in the sidebar.
Narrator: Select Settings.
On screen: Click "Advanced workspace administration (the Control Panel)". The next view is "Workspace" (/control-panel). A highlight labelled "Control Panel" marks "Advanced workspace administration".
Narrator: At the bottom of this page, Administration leads to the Control Panel.
Narrator: Select Advanced workspace administration.
On screen: A highlight labelled "What needs an admin" marks "Attention required". A highlight labelled "Workspace status" marks "Workspace health".
Narrator: This is the Control Panel hub for your workspace.
Narrator: Attention required lists what needs an admin, such as an invitation waiting to be accepted.
Narrator: Workspace health shows the status of your sources, approval policy, plan and audit log.
On screen: A highlight labelled "Governance and audit" marks "Data & audit". A highlight labelled "Plan and usage" marks "Usage".
Narrator: In the navigation, Data and audit holds export, retention and audit tools, and Usage shows your workspace plan.
Narrator: Some governance areas are marked as not yet available, and this video covers only what is live today.
On screen: Click "People". The next view is "Workspace" (/control-panel/people). A highlight marks "People".
Narrator: Now, who works in this workspace.
Narrator: Select People.
On screen: Click "Workspace members and roles". The next view is "Workspace" (/control-panel/members). A highlight labelled "Members and roles" marks "Workspace members and roles".
Narrator: People covers the members of the workspace, with their roles, and external participants who don't have accounts.
Narrator: Select Members.
On screen: A highlight labelled "Waiting to be accepted" marks "Pending invitations".
Narrator: Members lists everyone in the workspace with their role.
Narrator: Pending invitations wait here until they are accepted.
On screen: Click "Overview". The next view is "Workspace" (/control-panel). A highlight marks "Overview".
Narrator: Next, the workspaces you belong to.
Narrator: Go back to the Overview, then select Manage workspaces.
On screen: Click "Manage workspaces". The next view is "Workspace" (/control-panel/workspaces). A highlight labelled "Workspaces" marks "Manage workspaces".
Narrator: Select Manage workspaces.
On screen: A highlight labelled "Where you belong" marks "YOUR WORKSPACES".
Narrator: Workspaces lists the workspaces you belong to, and lets you create a new one.
On screen: Click "Settings". The next view is "Workspace settings" (/settings/workspace). A highlight marks "Settings".
Narrator: For agents and sources, go back to Settings.
Narrator: Select Settings.
On screen: Click "Agents". The next view is "Agents" (/control-panel/agents). A highlight marks "Agents".
Narrator: Select Agents.
On screen: A highlight labelled "How agent access works" marks "Agent governance".
Narrator: Agents are the AI tools connected to this workspace, with their access and status.
Narrator: None have been created yet, so the list is empty. Create agent starts a new one.
On screen: Click "Settings". The next view is "Workspace settings" (/settings/workspace). A highlight marks "Settings".
Narrator: Back in Settings, select Sources.
On screen: Click "Sources". The next view is "Sources" (/sources). A highlight marks "Sources".
Narrator: Select Sources.
On screen: A highlight labelled "Your choice" marks "Selected evidence by default".
Narrator: Sources is where the inputs DM can use are managed.
Narrator: DM reads only the items you choose, unless a broader scope is explicitly enabled.
Narrator: Which sources you can connect depends on what your deployment supports.
Narrator: Next, let's create your first workspace agent.
Last verified against the product on .
Explore workspace and account settings available to your role in DM.
For: Signed-in member
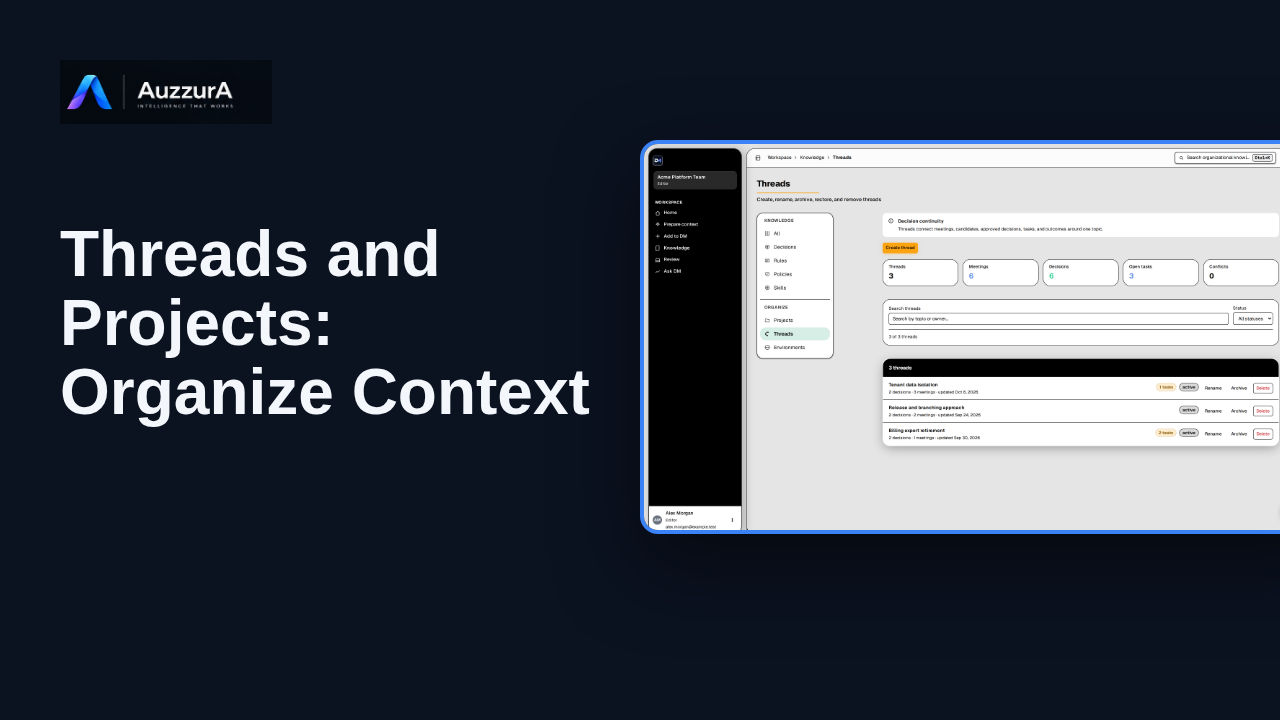
Explain how topic continuity and project organization work in the Knowledge section. Decisions change over time. Threads help keep their history connected.
For: Workspace member or project lead
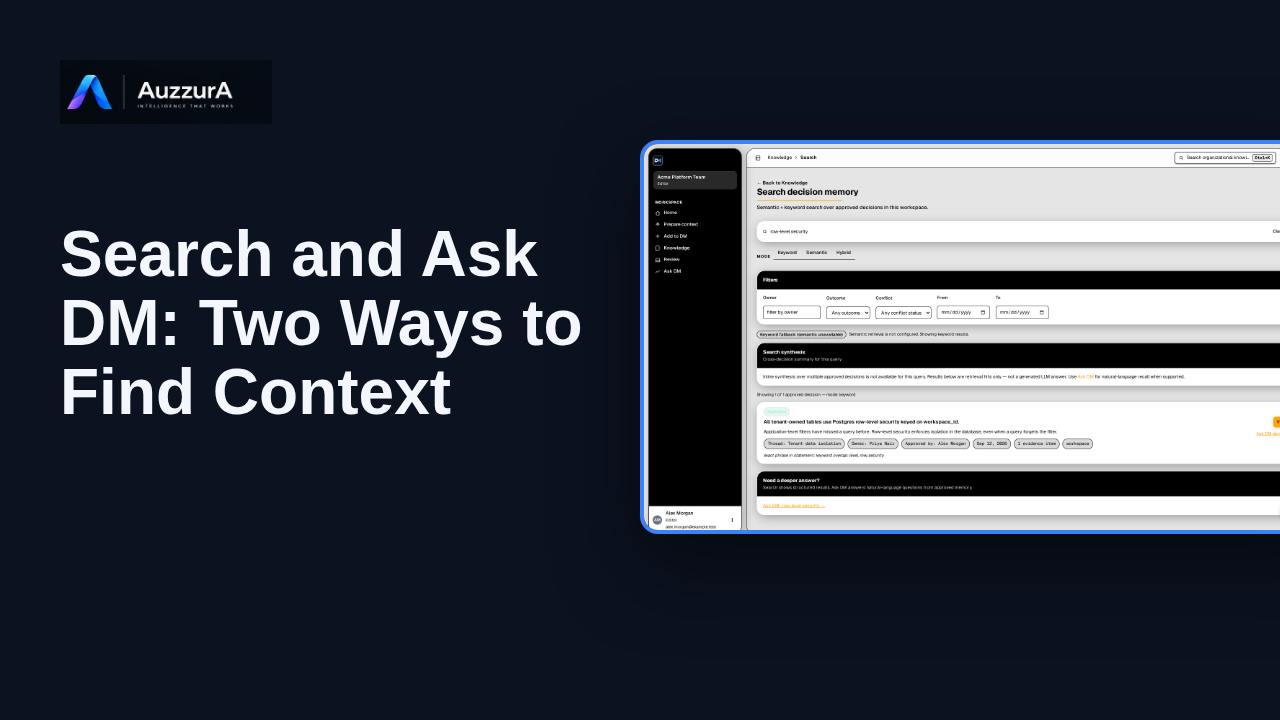
Orient users to search/navigation versus natural-language answer with citations. You do not need to remember a document title to find the decision behind it.
For: Any authorized workspace user
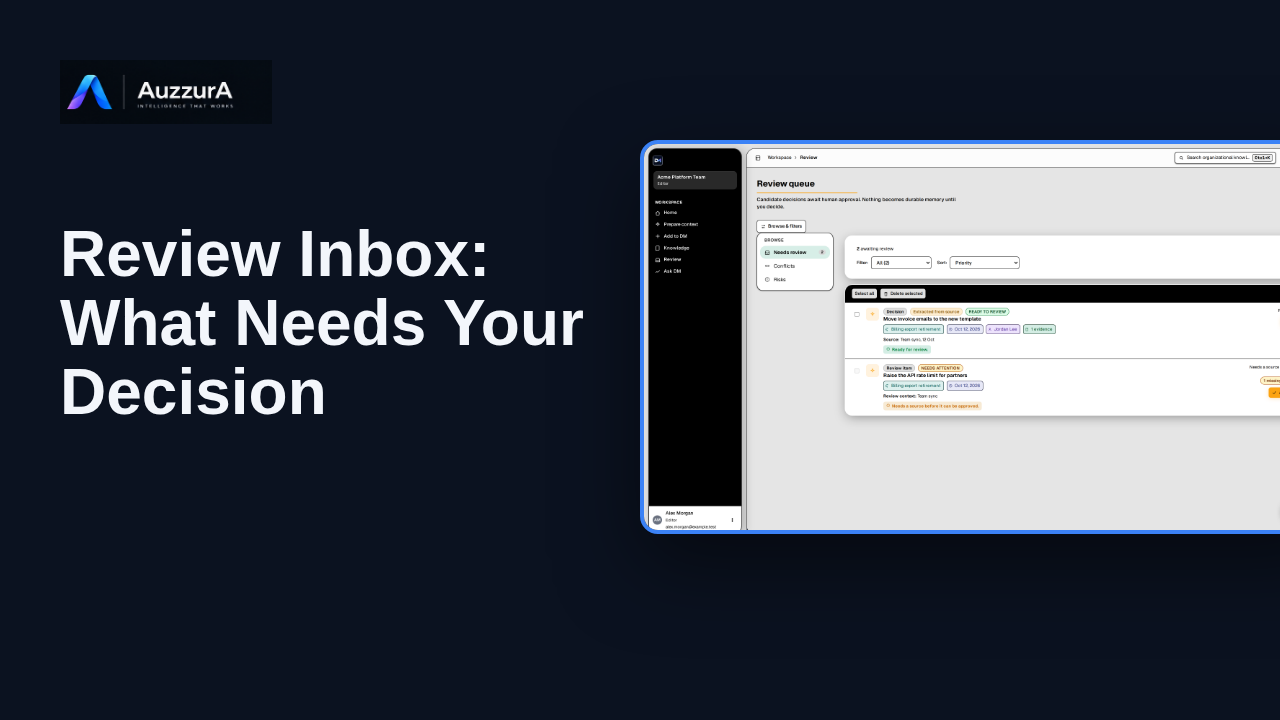
Show how to interpret the review queue before diving into detailed approval. The Review Inbox is where proposed knowledge waits for someone to judge it.
For: Reviewer or workspace decision owner